Making ghee with a pot and a tea strainer
Ghee is a cooking fat that tolerates higher temperatures and lasts a lot longer on the shelf compared to regular butter. It has an amazing smell of buttery baked goods and caramel. Proponents say it's a healthy food item loaded with natural antioxidants, vitamins and healthy types of fat, and that it's a great type of fat for frying on a pan and cooking in general.
By making ghee yourself you can save money, ensure the source of butter is high quality, and achieve exactly the degree of caramelization and ghee flavour you prefer. If the butter is heated with only lower temperatures the result is really just clarified butter, if higher temperatures are used, more caramelization occurs and the product turns out more like ghee.
My ghee preparation method
I have been making something between clarified butter and ghee numerous times and this post documents my perfected method that only requires minimal tools. It is really quite easy, all that needs to happen is:
- Butter is heated gently to evaporate the water contents
- The milk solids that rise up are skimmed away
- The butter fat is poured into a jar
But the devil is in the details, so here comes a detailed explanation of how I go about these steps.
Requirements
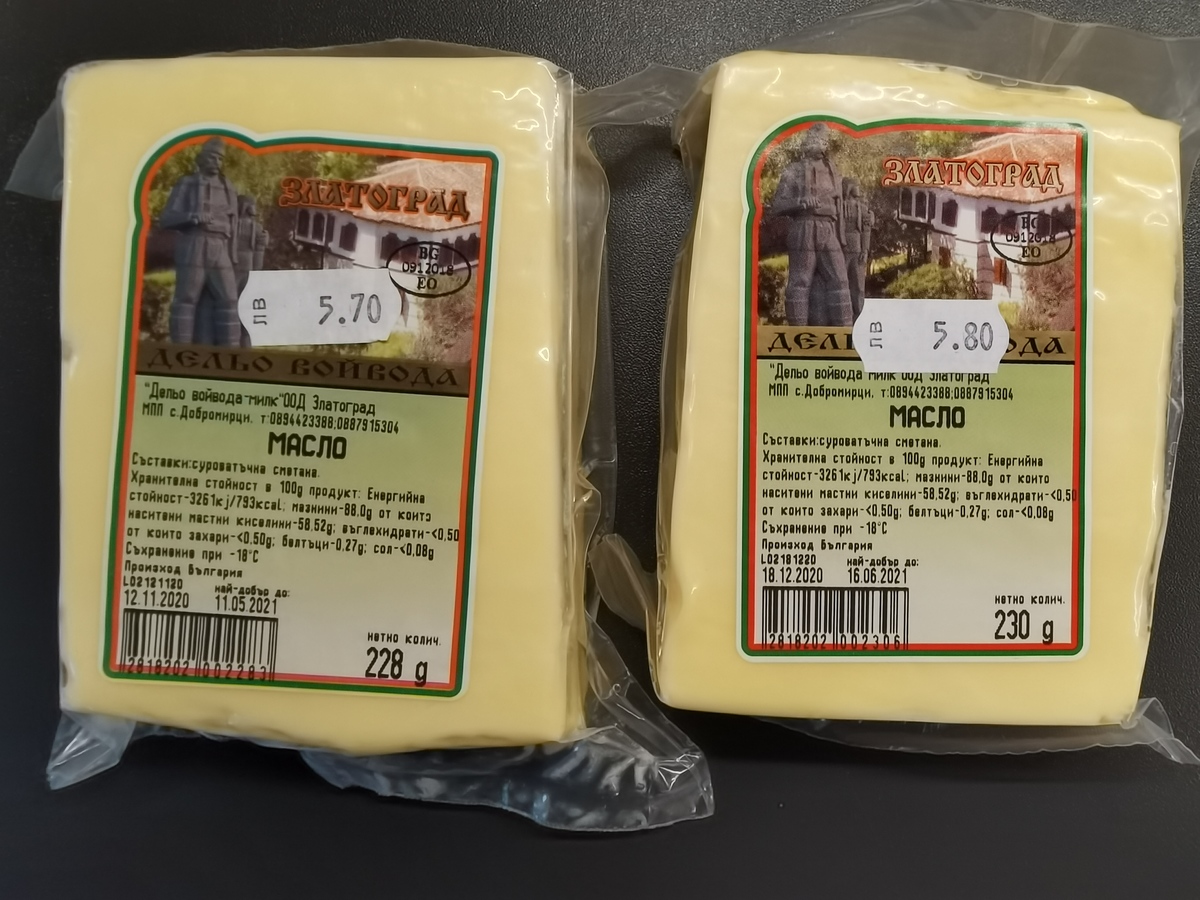
- Butter (for example 500 grams). In my experince it doesn't matter if it's salted or unsalted. The most important thing is to get a high quality butter, ideally from grassfed cows.
- Pot
- One piece tea strainer
- A clean jar with lid. For 500 grams of butter get a jar that can contain at least 450 ml.
- Optional: Cooking thermometer.
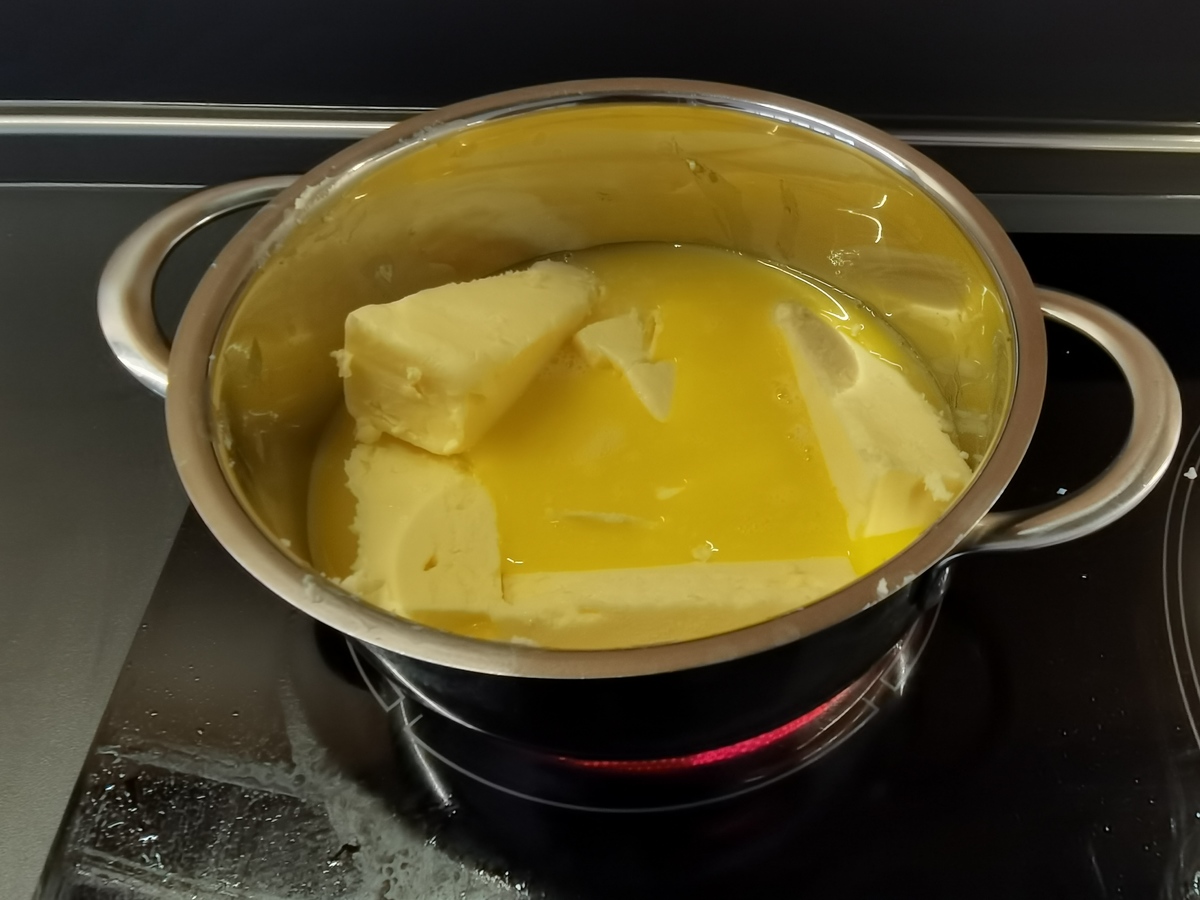
Step 1 - melt the butter
Bring out the butter:
Cut it in sticks and melt it:
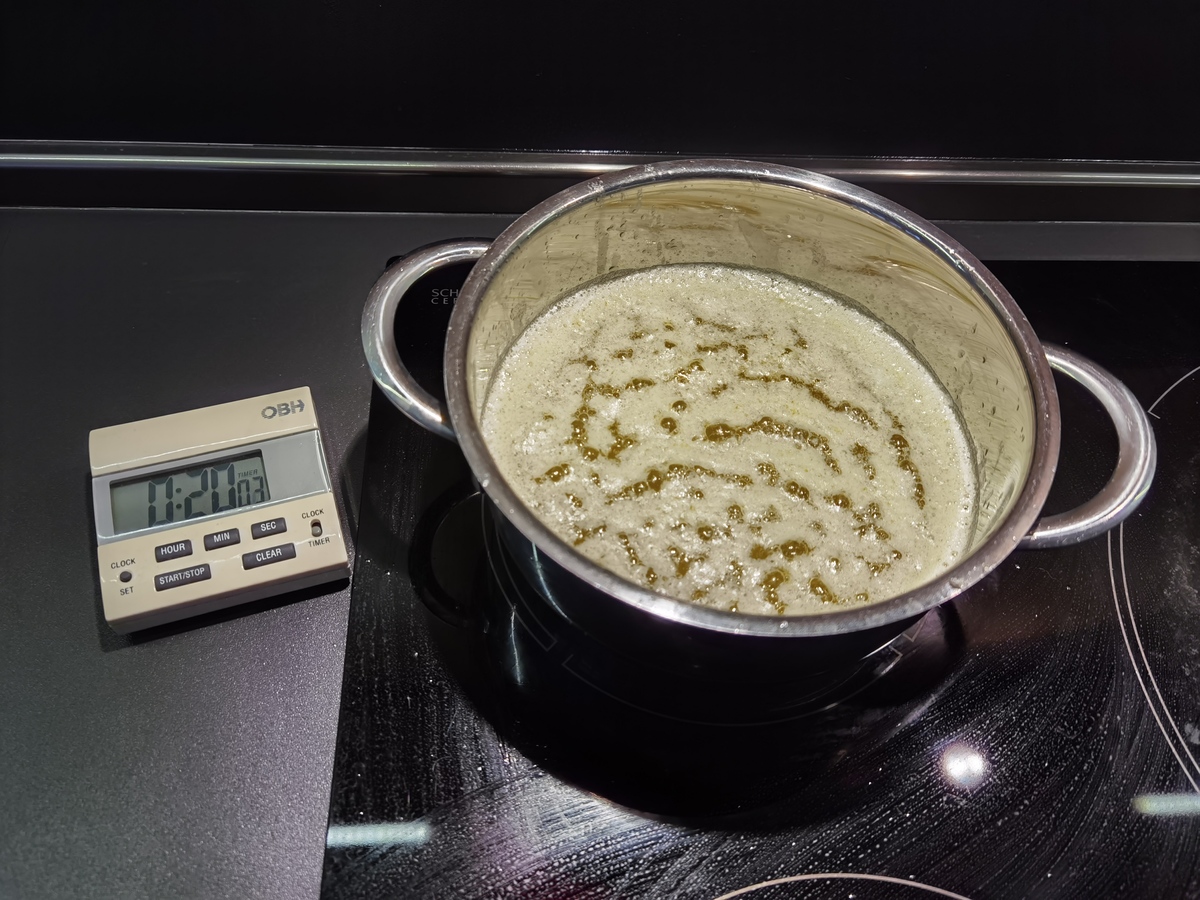
Step 2 - evaporate the water
Let it simmer for some time. The main purpose of this phase it to evaporate the water contents.
Use only low heat, otherwise big bubbles may form that burst making a big mess. Sometimes it's necessary to stir a little bit to help the water vapour escape.
Here the butter has been lightly simmering for about 20 minutes. The timer was started when the butter started to melt.
Step 3 - skim most of the milk solids
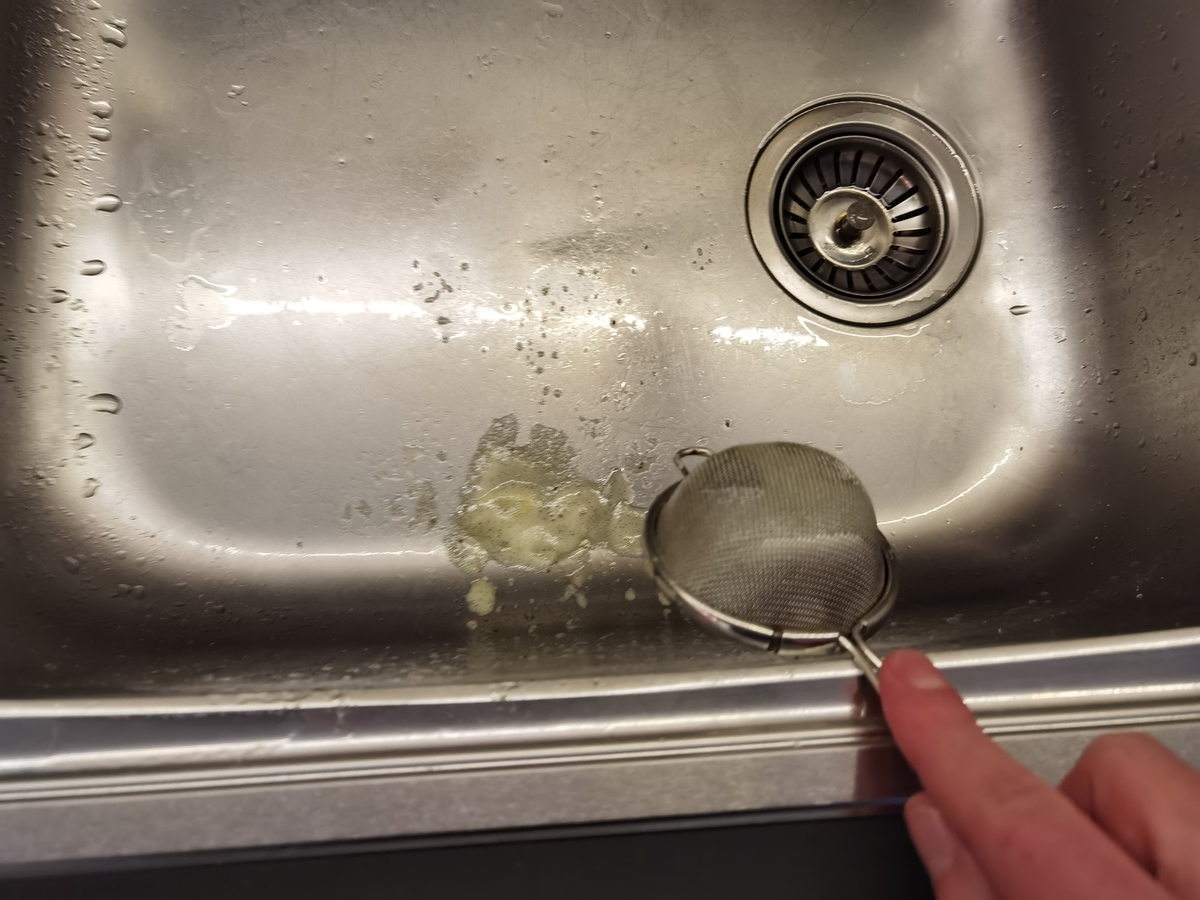
When the butter fat starts to turn clear and golden, it's time to skim off the milk solids released so far. As mentioned, I use a tea strainer:

No need to clean the strainer between scoops, just tap it on the side of the sink:
Step 4 - caramelization
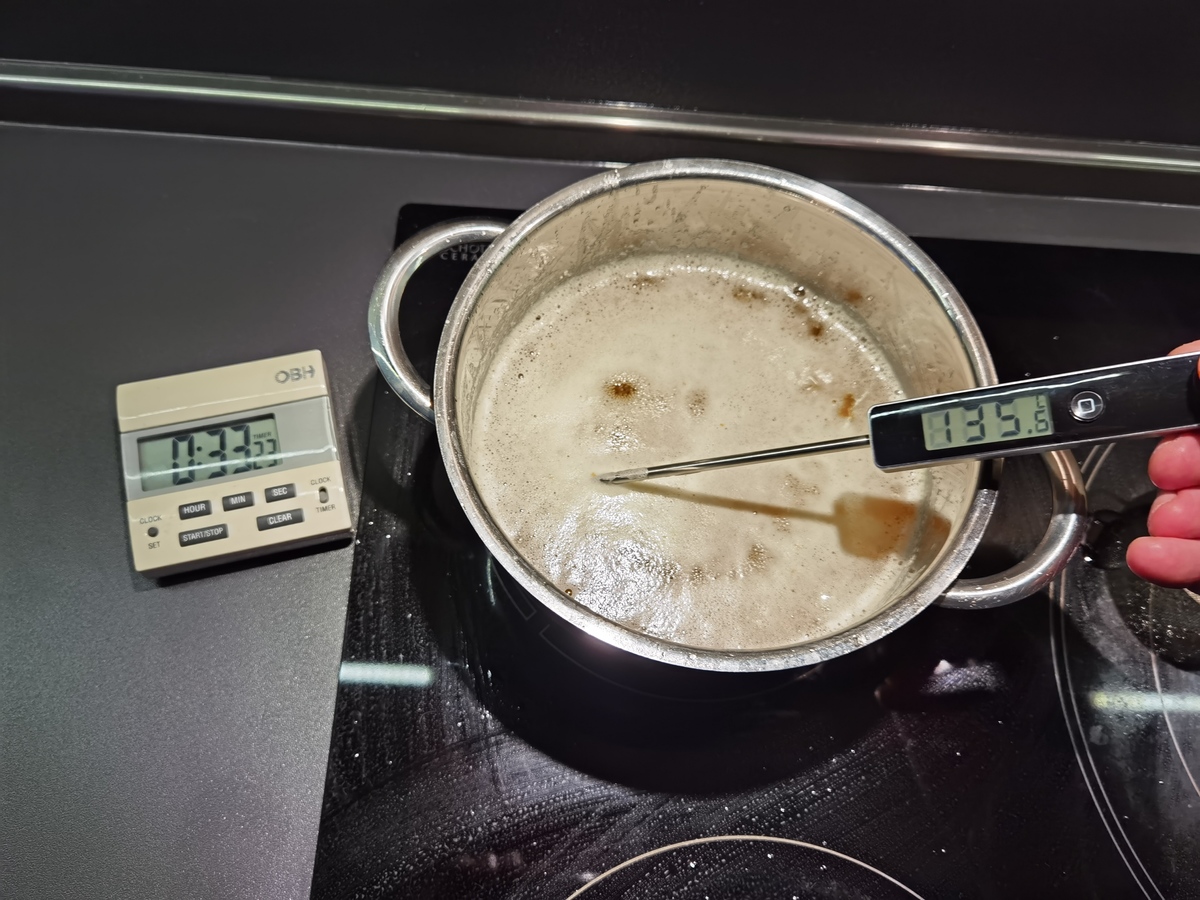
Stop skimming and keep heating the fat. At some point it will start to sound almost like the popping of popcorn. This indicates that most of the water has evaporated and the temperature is rising above 100 deg. celsius.
Now carefully raise the temperature even more to get some browning and caramelization. Don't go too high as it will damage the fat. The time and amount of heating in this phase will determine how much ghee flavour is developed.
My preference is to heat the fat to just briefly hit a temperature of 130 to 140 degrees celsius and then turn off the heat:
Step 5 - cool down and final skim
Now as the heat has been turned off, wait until the fat cools down and stops simmering. This is a good time to do the final skimming of milk solids.
After the final skim:

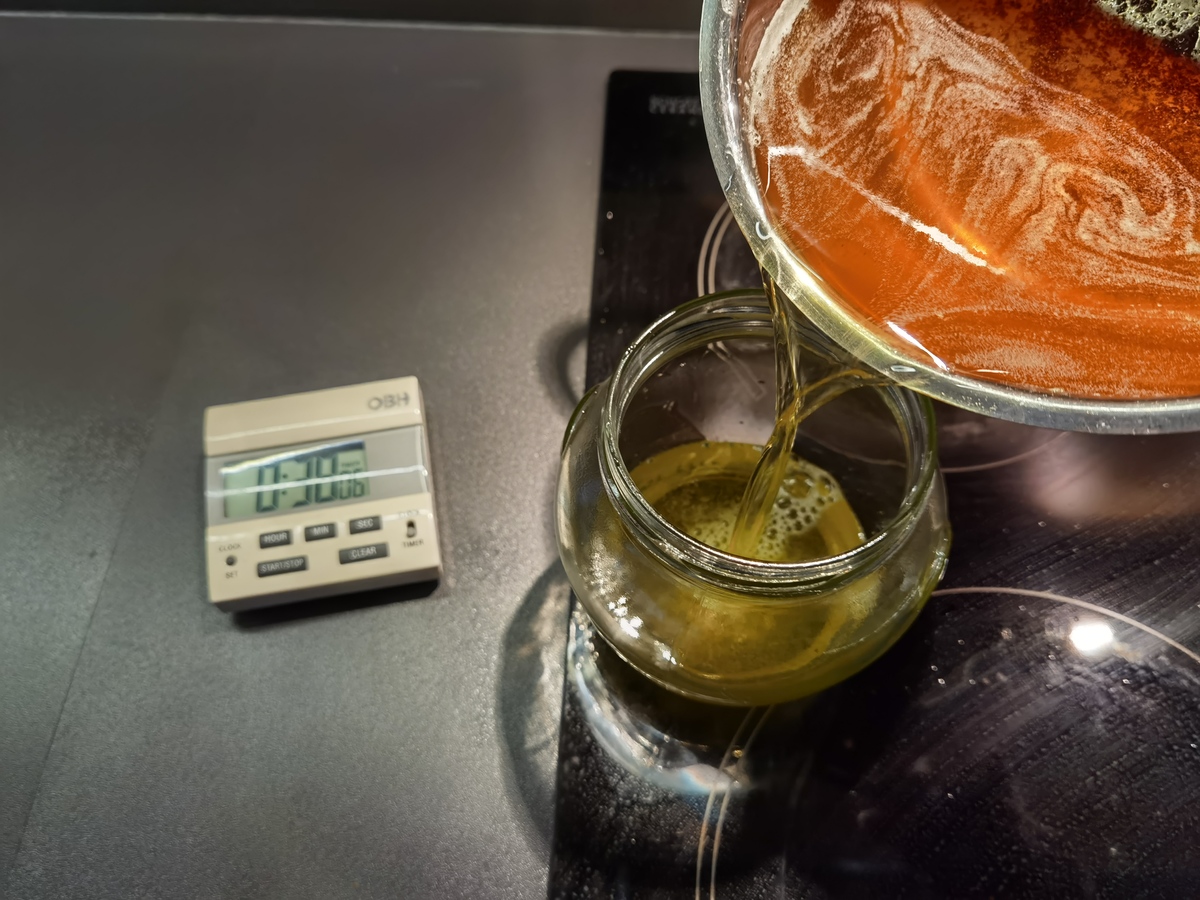
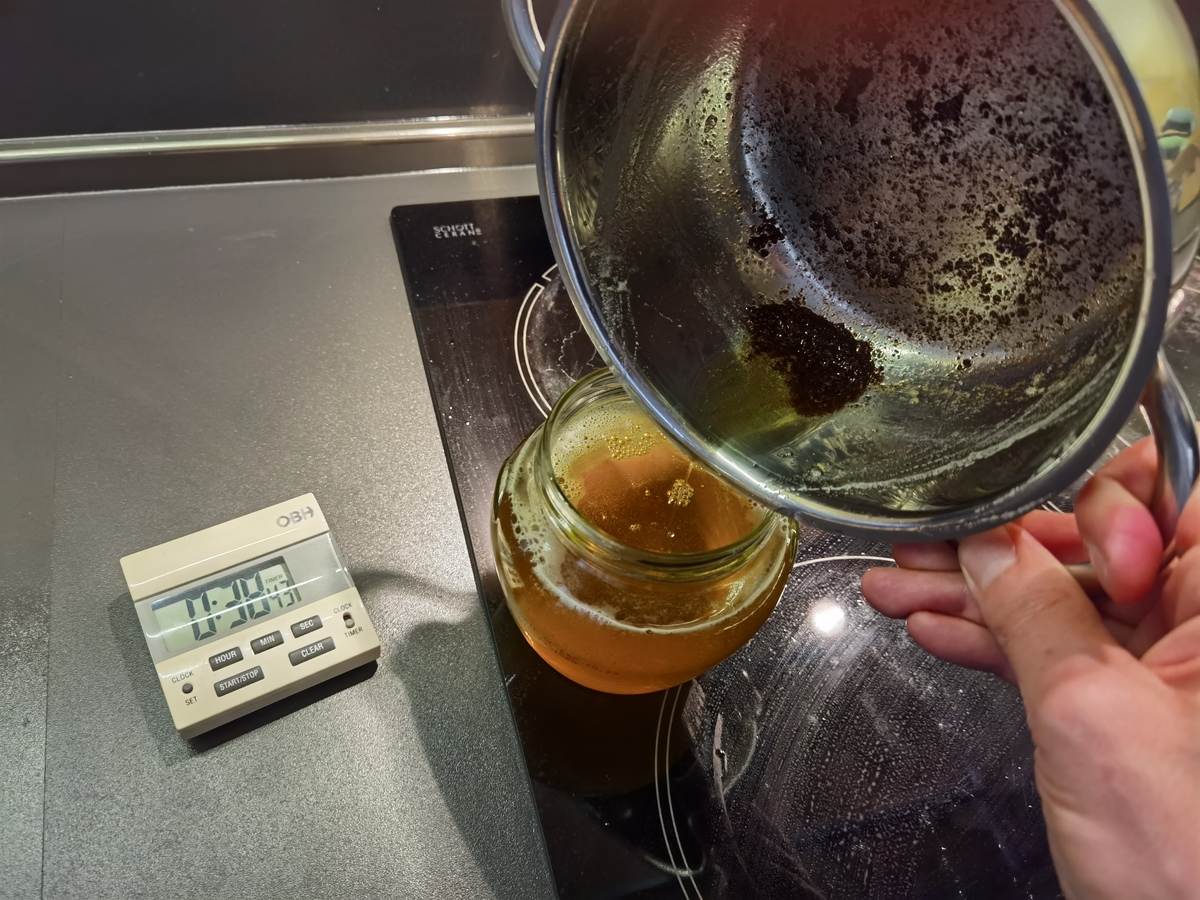
Step 6 - pouring into a jar
Pour slowly and carefully
Avoid pouring the darkened milk solids that settled at the bottom
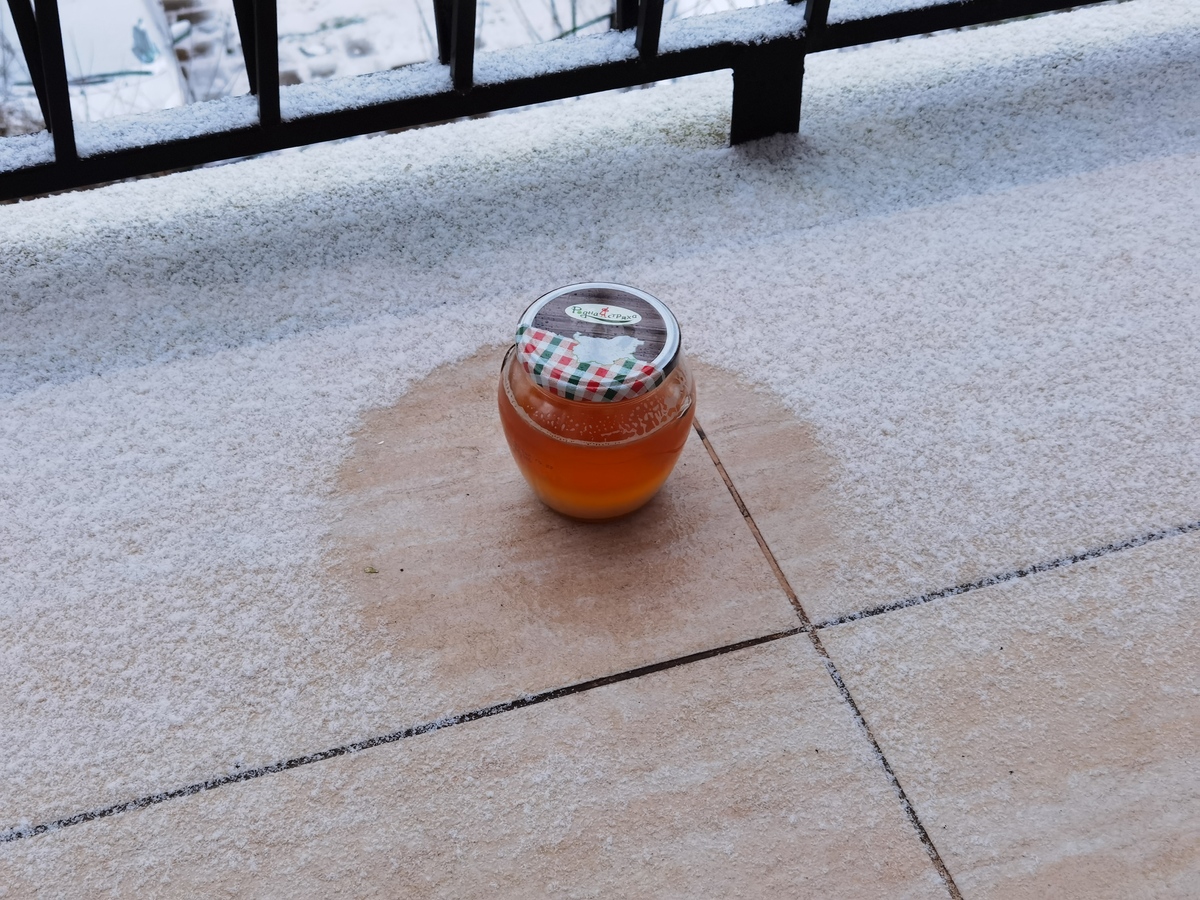
Step 7
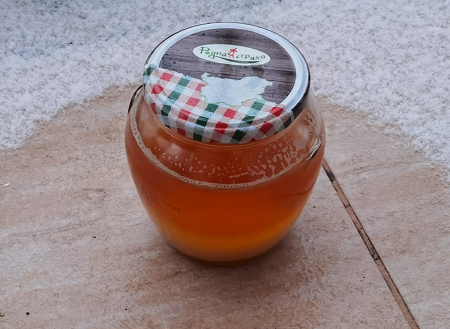
Put the ghee in a cold place to cool down. Notice how the snow melted around the jar!
The final product:
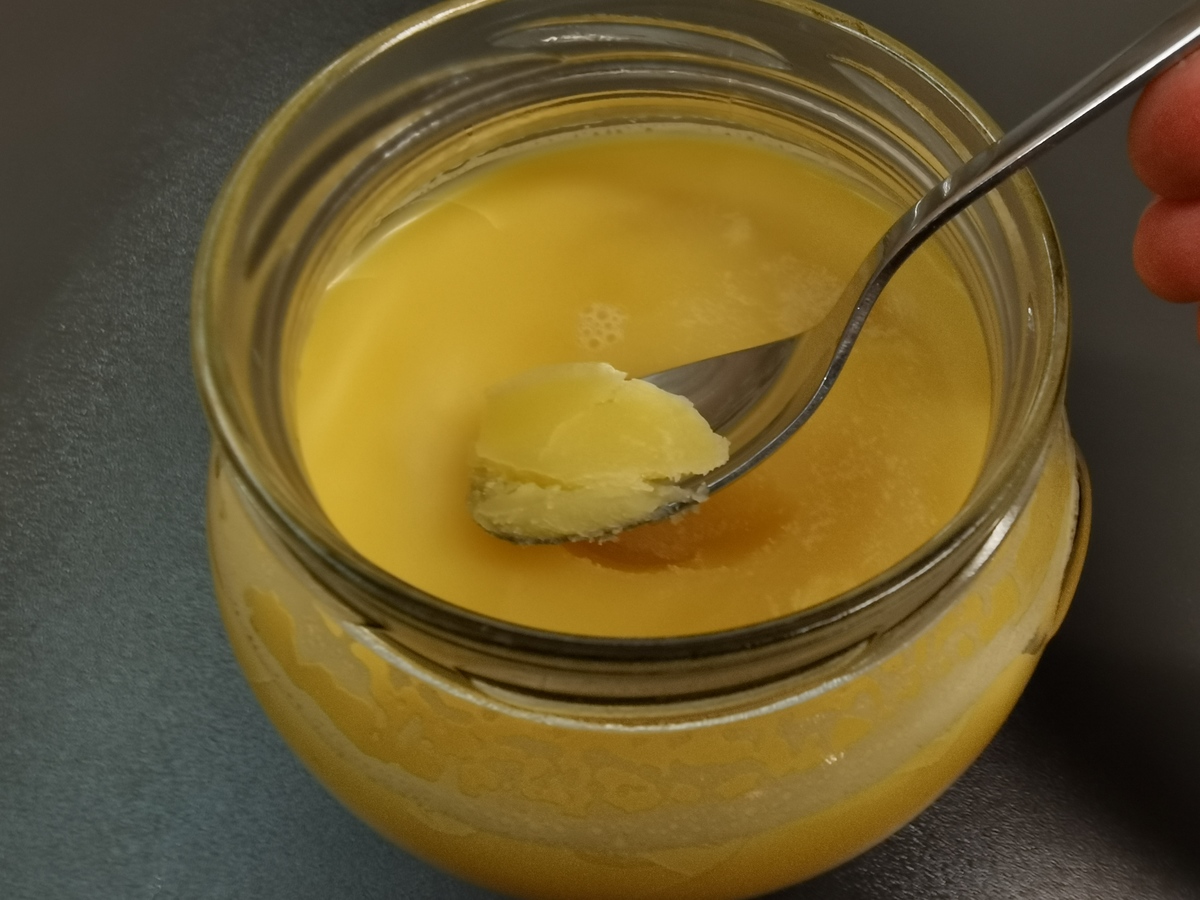
A small amount of milk solids inevitably makes it into the jar. The darkened stuff will settle at the bottom and the light stuff will raise to the surface or stick to the sides of the jar where may be wiped off.
Remove any drops of water that might have formed under the lid or on the ghee after it has cooled down. Water is the only real enemy to the longevity of ghee.
Enjoy!
I hope you enjoyed this content!

Comments powered by Talkyard