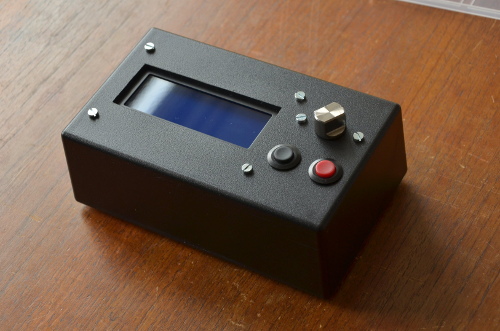
Mounting Midimixfix in a box
This is an unedited republication related to the Midimixfix project. It first appeared on the Lars' Electric Endeavors blog on larsee.dk
Lars, January 2018
I finally decided on a cabinet for my Midimixfix hardware and photo documented the mounting process. I chose the Velleman WCAH2851 box which has more or less the correct dimensions, except that it could have been less high and a slanted top would have been nice to give a less clumsy look and a more accessible interface. But the Velleman cheapskate box was the best match I could find and it did the job. Midimixfix in a box!
The mounting process:
Mounting MidiMixFix in the inexpensive Velleman WCAH2851 plastic box
Double adhesive tape was used to hold the display in place while marking where to drill the holes
How the wires have to be connected
The rotary knob needs a 7 mm hole
which it will get in this piece of mekano
The small keying pin doesn’t fit
Drilling the hole to 4.5 mm and it fits nicely
Hmm. The box wall is too thick
and there is barely enough room for the 1/4 inch jack receptacles
I had to do some digging
Problem solved
The top part is finished
What a mess
M3 screws
I decided that four nuts and no washer provided the correct spacing
All is mounted in top part
Midimixfix in box
This arrangement was my original idea, but it didn’t work very well
This works better
I hope you enjoyed this content!


Comments powered by Talkyard